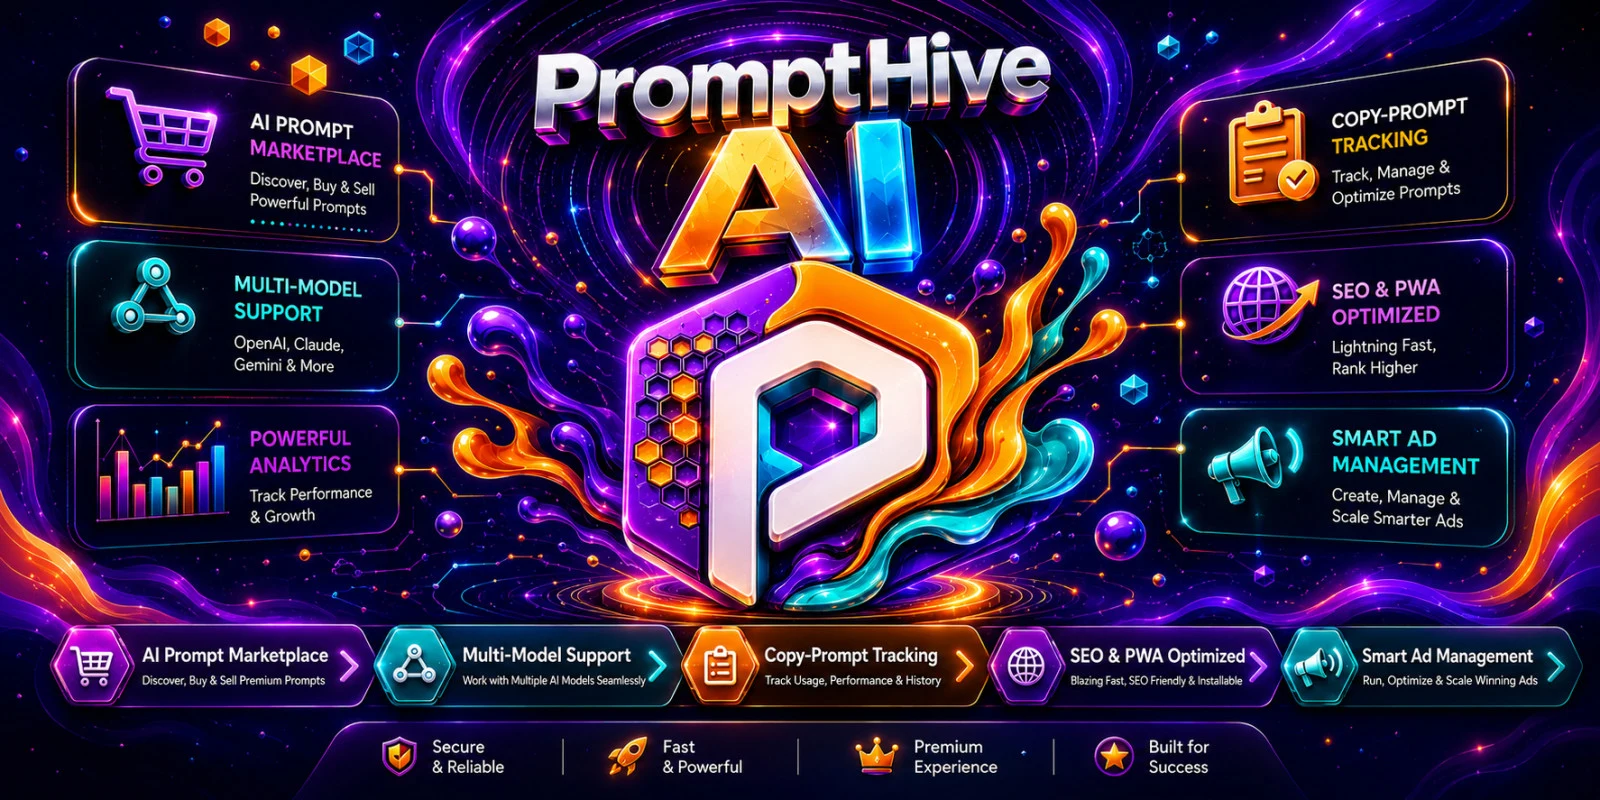
PromptHive AI
Step-by-Step Setup Guide & Server Requirements
PromptHive AI is a PHP & MySQL-based AI Prompt Marketplace and Directory Platform. Follow the instructions below to install, configure, and run PromptHive AI on your web hosting server.
---
1. Server Requirements
Before installation, make sure your hosting environment meets the following requirements.
Minimum Requirements
- PHP 8.0 or higher
- MySQL 5.7+ or MariaDB
- Apache, LiteSpeed, or Nginx
- PHP PDO Extension
- PHP cURL Extension
- PHP JSON Extension
- PHP OpenSSL Extension
- PHP Fileinfo Extension
- PHP Mbstring Extension
- PHP GD Extension
- PHP ZIP Extension
- mod_rewrite enabled
- File upload permissions enabled
- Writable storage/cache directories
Recommended Hosting Environment
For better performance, the following environment is recommended:
- PHP 8.1 or 8.2+
- MySQL 8.0+
- LiteSpeed or Apache
- SSL Certificate enabled
- HTTPS enabled
- PHP OPcache enabled
- At least 1 GB RAM
- At least 2 GB available storage
> Actual server requirements may vary depending on website traffic, uploaded content, database size, and enabled modules.
---
2. Before Installation
Before starting the installation, prepare the following:
- Domain or subdomain
- Web hosting account
- MySQL database
- MySQL database username
- MySQL database password
- Database hostname
- FTP/SFTP or hosting File Manager access
- SSL certificate
- Administrator email address
- Administrator password
Make sure your domain is already connected to your hosting server.
---
3. Create a MySQL Database
Log in to your hosting control panel.
For cPanel:
- Open MySQL Databases.
- Create a new database.
- Create a database user.
- Set a secure password for the database user.
- Add the database user to the database.
- Grant ALL PRIVILEGES to the database user.
- Save the following database information:
Database Name:
Database Username:
Database Password:
Database Host:
For most hosting environments, the database host is:
localhost
However, your hosting provider may use a different database hostname.
---
4. Upload PromptHive AI
Upload the complete PromptHive AI package to your hosting account.
For the main domain, upload the files to:
public_html/
For a subdomain, upload the files to the document root assigned to that subdomain.
You can upload the files using:
- cPanel File Manager
- FTP
- SFTP
- Hosting File Manager
If the downloaded package is a ZIP file:
- Upload the ZIP file.
- Extract it inside the correct website directory.
- Make sure the actual application files are located inside the website document root.
---
5. Verify File Structure
After extraction, verify that the application files are in the correct location.
Your document root should contain the PromptHive AI application files and directories.
Example:
public_html/
│
├── app/
├── assets/
├── config/
├── database/
├── public/
├── storage/
├── uploads/
├── index.php
├── .htaccess
└── ...
> The exact file structure may vary depending on the final version of PromptHive AI.
Do not move or rename application files unless the documentation specifically instructs you to do so.
---
6. Configure File Permissions
PromptHive AI may require specific directories to be writable by the web server.
Make sure required directories such as the following are writable:
storage/
uploads/
cache/
The exact directories may vary according to the application version.
Recommended permissions on many Linux hosting environments are:
Folders: 755
Files:   644
Only use more permissive permissions when required by your hosting environment.
Avoid setting the entire application directory to:
777
unless your hosting provider or application documentation specifically requires it.
---
7. Open the Installation Wizard
After uploading the files and creating the database, open your website domain:
https://yourdomain.com/
If the application detects that it has not been installed, the installation wizard should appear.
Follow the instructions displayed by the installer.
---
8. Enter Database Information
During installation, enter the database information created earlier.
Example:
Database Host:     localhost
Database Name:     your_database
Database Username: yourdatabaseuser
Database Password: yoursecurepassword
Click the appropriate Continue, Install, or Next button.
The installer will connect to the database and create the required tables.
---
9. Configure Website Information
Enter the basic website information requested by the installer.
Typical settings may include:
Website Name:
Website URL:
Admin Email:
Timezone:
Currency:
Use your actual website URL.
Example:
https://example.com
If SSL is enabled, always use HTTPS.
---
10. Create Administrator Account
Create your main administrator account.
Example:
Admin Name:
Admin Email:
Admin Password:
Use a strong and unique administrator password.
Recommended password characteristics:
- At least 12 characters
- Uppercase letters
- Lowercase letters
- Numbers
- Special characters
Example format:
Use-A-Strong-Unique-Password
Do not use the example password above as your actual password.
---
11. Complete Installation
Review the configuration details and complete the installation.
After successful installation:
- Open the homepage.
- Verify that the website loads correctly.
- Open the administrator login page.
- Log in using the administrator credentials.
- Open the admin dashboard.
- Verify database connectivity.
- Check the website settings.
---
12. Remove Installation Files
For security reasons, remove or disable the installation directory after successful installation if your application package includes one.
Example:
/install/
Do not delete application files unless the installation documentation specifically identifies them as temporary installation files.
---
13. Configure Website Settings
Log in to the administrator dashboard and configure the basic website settings.
Recommended configuration areas include:
Website Name
Website Logo
Website Favicon
Website URL
Admin Email
Contact Information
Timezone
Currency
Language
Social Media Links
Footer Information
Save the settings after making changes.
---
14. Configure Prompt Marketplace
From the administrator dashboard, configure your marketplace structure.
Recommended setup order:
1. Create Prompt Categories
- Create Prompt Collections
- Configure Prompt Packs
- Add Free Prompts
- Add Paid Prompts
- Configure Featured Prompts
- Review Marketplace Settings
Make sure each prompt has the correct title, description, category, pricing, and visibility settings.
---
15. Configure Payment Gateways
If your installation includes payment gateway integrations, configure them from the payment settings.
Depending on your enabled modules, available options may include:
PayPal
Razorpay
Easypaisa
JazzCash
Manual Payment
For each gateway, enter the required credentials provided by the payment provider.
Example:
API Key
API Secret
Merchant ID
Client ID
Client Secret
Webhook/Callback URL
> Payment gateway credentials must be obtained from the respective payment provider. Never publish private API keys or secrets publicly.
After configuration, perform a test transaction where supported.
---
16. Configure Manual Payments
If you use manual payment processing:
- Enable the manual payment option.
- Add your payment instructions.
- Add supported payment account information.
- Explain the payment verification process to users.
- Configure the admin verification workflow.
- Test a complete purchase from the user side.
Never publish sensitive banking credentials that should remain private.
---
17. Configure SEO
Open the SEO settings from the administrator panel.
Configure:
Website Title
Meta Description
Meta Keywords
Canonical URL
Open Graph Information
Twitter Card Information
Robots Settings
Sitemap Settings
Structured Data
Use unique SEO titles and descriptions for important pages.
---
18. Generate / Verify Sitemap
If the application provides automatic sitemap generation, verify that the sitemap is accessible.
Typical location:
https://yourdomain.com/sitemap.xml
Submit the sitemap to search engines through their respective webmaster tools.
---
19. Configure Advertisements
PromptHive AI may support multiple advertisement locations.
Depending on your enabled modules, configure:
Homepage Ads
Category Ads
Search Result Ads
Prompt Detail Ads
Sidebar Ads
Blog Ads
Custom HTML Ads
Always verify advertisement placement from both desktop and mobile devices.
---
20. Configure Google AdSense
If you plan to use Google AdSense:
- Create or use your Google AdSense account.
- Add and verify your website with Google.
- Wait for approval where required.
- Create the required ad units.
- Add the provided advertisement code to the supported advertisement locations.
- Save the settings.
- Verify the ads on your website.
Follow Google's current AdSense policies and implementation requirements.
---
21. Configure Blog & Content
From the admin panel, configure the content management system.
You can typically create:
Blog Posts
Categories
Pages
Menus
Homepage Sections
Footer Content
SEO Pages
Media
Before launching the website, make sure important pages such as the following are available where applicable:
About Us
Contact Us
Privacy Policy
Terms & Conditions
Refund Policy
---
22. Configure PWA
If PWA functionality is enabled in your installation:
- Make sure HTTPS is active.
- Verify the web app manifest.
- Verify the service worker.
- Test installation from a supported browser.
- Test the home-screen installation.
- Test offline functionality where supported.
PWA behavior can vary depending on browser, operating system, and hosting configuration.
---
23. Configure Email
If email functionality is available, configure your email/SMTP settings.
Typical configuration:
SMTP Host:
SMTP Port:
SMTP Username:
SMTP Password:
Encryption:
From Email:
From Name:
After configuration, send a test email.
Verify:
Registration Emails
Password Reset Emails
Purchase Notifications
Admin Notifications
---
24. Enable SSL / HTTPS
SSL is strongly recommended for PromptHive AI, especially because the platform may handle:
- User accounts
- Authentication
- Purchases
- Payment information
- Administrative sessions
Your website should use:
https://yourdomain.com
instead of:
http://yourdomain.com
After enabling SSL, verify that all important website pages load correctly over HTTPS.
---
25. Test User Registration
Before launching the website, test the complete registration process.
Create a test user and verify:
Registration
Login
Logout
Profile
Password Reset
Account Settings
Remove test accounts before going live if they are no longer required.
---
26. Test Prompt Submission
If users are allowed to submit prompts:
- Register a test user.
- Log in.
- Submit a prompt.
- Verify the submission process.
- Log in as administrator.
- Review the submission.
- Approve or reject it.
- Verify the final frontend result.
---
27. Test Prompt Purchase
Perform a complete test purchase where payment testing is available.
Verify:
Prompt Selection
Checkout
Payment Processing
Payment Verification
Purchase Record
Transaction Record
User Purchase History
Prompt Access
Invoice / Receipt
Do not use real customer transactions for testing unless the payment provider's test/live configuration requires it.
---
28. Test Search & Filters
Test the marketplace search functionality.
Verify:
Keyword Search
Categories
Price Filters
Sorting
Featured Prompts
Popular Prompts
Latest Prompts
Trending Prompts
Make sure the results are displayed correctly on mobile and desktop.
---
29. Test Responsive Design
Open the website on:
Desktop
Laptop
Tablet
Android Phone
iPhone
Check:
- Navigation
- Homepage
- Prompt pages
- Search
- Filters
- Login
- Registration
- Dashboard
- Checkout
- Blog
- Admin panel
Make sure there is no unwanted horizontal scrolling or broken layout.
---
30. Performance Checklist
Before launching the website:
- Enable HTTPS
- Enable PHP OPcache where available
- Optimize large images
- Remove unnecessary files
- Enable suitable caching
- Compress static assets where supported
- Keep PHP and server software updated
- Optimize large database tables when necessary
- Use a CDN if required for your traffic level
---
31. Security Checklist
Before going live:
- Use a strong admin password
- Keep PHP updated
- Keep MySQL/MariaDB updated
- Enable HTTPS
- Do not expose database credentials
- Do not publish API keys
- Remove installation files
- Check file permissions
- Disable unnecessary PHP functions/modules where appropriate
- Use reliable hosting
- Maintain regular backups
- Restrict administrator access where possible
---
32. Backup Recommendations
Always maintain regular backups of:
Website Files
Database
User Data
Uploaded Prompts
Uploaded Media
Configuration Files
A recommended backup strategy is:
Daily Database Backup
Weekly Full Website Backup
Off-Site Backup Storage
Keep at least one backup outside your primary hosting account.
---
33. Troubleshooting
Database Connection Error
Check:
Database Host
Database Name
Database Username
Database Password
Also verify that the database user has the required privileges.
---
500 Internal Server Error
Check:
- PHP version
- PHP extensions
- File permissions
- .htaccess configuration
- Server error logs
- PHP error logs
If the problem continues, contact your hosting provider.
---
Page Not Found / 404 Error
Check:
- mod_rewrite
- .htaccess
- Nginx rewrite configuration
- Website URL
- Application routing configuration
For Nginx servers, rewrite rules may require additional server configuration.
---
Upload Error
Check:
uploadmaxfilesize
postmaxsize
memory_limit
maxexecutiontime
Also verify that the required upload directory is writable.
---
Email Not Sending
Verify:
SMTP Host
SMTP Port
SMTP Username
SMTP Password
Encryption
From Email
Also check whether your hosting provider blocks outbound SMTP connections.
---
34. Recommended Production Checklist
Before officially launching PromptHive AI, verify the following:
[✓] Domain Connected
[✓] SSL Enabled
[✓] PHP Version Configured
[✓] MySQL Database Created
[✓] Application Uploaded
[✓] Installation Completed
[✓] Admin Account Created
[✓] Installation Files Removed
[✓] Website Settings Configured
[✓] Categories Created
[✓] Prompts Added
[✓] Payment Gateway Configured
[✓] Email Configured
[✓] SEO Configured
[✓] Sitemap Verified
[✓] Advertisement System Configured
[✓] Blog Configured
[✓] PWA Tested
[✓] Registration Tested
[✓] Login Tested
[✓] Prompt Submission Tested
[✓] Purchase Flow Tested
[✓] Mobile Layout Tested
[✓] Backup Configured
[✓] Security Checked
---
35. Final Notes
PromptHive AI is designed to provide a complete foundation for launching an AI prompt marketplace, prompt directory, AI content platform, or creator-focused digital marketplace.
For the best results, always use a properly configured hosting environment, keep the server software updated, maintain regular backups, and protect administrator credentials and payment/API credentials.
If you experience a server-specific issue, review the hosting error logs first and verify that your server meets all required PHP extensions and configuration requirements.
PromptHive AI — Build, Manage & Grow Your AI Prompt Marketplace.

Be the First Verified Reviewer
Purchase this script to publish your feedback and help independent creators improve.